E-mail
agarino3@aol.com
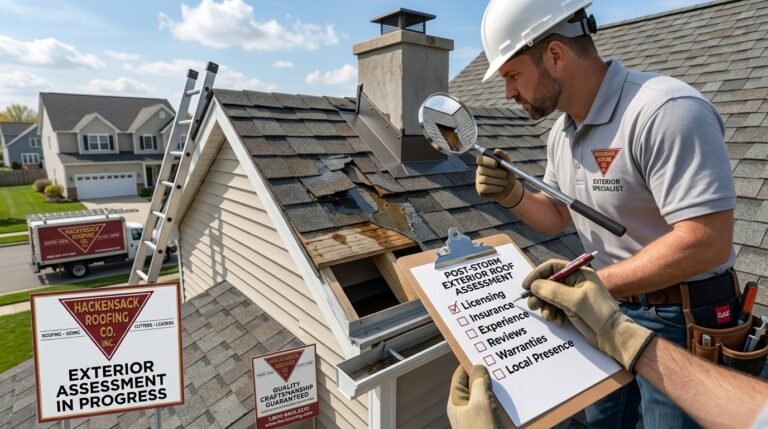
Nor’easters bring a heavy combination of driving rain, winds, and potentially heavy snow (depending on the temperature) that can severely stress even the strongest roofing systems. Driven by gale-force wind gusts, water can force its way under shingles, around flashing, and into your home.
Discovering an active leak after a major coastal storm is stressful, but taking prompt, structured action can minimize water damage, protect your home’s structure, and streamline your insurance claim. Here is a step-by-step guide on what to do immediately after discovering a leak.
1. First Priority – Contain the Indoor Water Immediately
Before investigating where the leak is coming from, focus on preventing interior damage to your living space:
2. Document the Damage Thoroughly
If you plan to file a homeowner’s insurance claim, detailed documentation is essential:
3. Conduct a Safe Preliminary Inspection
Never climb onto a wet, icy, or wind-blown roof. Do NOT attempt to climb a ladder during high winds. After a storm, roof surfaces remain extremely slick, and structural decking may be compromised.
Instead, perform a safe inspection:
4. Contact a Licensed Roofing Professional
Beware of “storm chasers,” out-of-town contractors that follow severe weather, who offer quick fixes but disappear when problems arise later.
Reach out to an established, local roofing company, like Hackensack Roofing Company, as soon as possible. Major storms create a surge in emergency repairs, so consider the gravity of your repair and be as forthright as possible. A minor leak through drywall is not as severe as a tree puncturing a roof or an unknown leak dripping on electrical components that pose a fire hazard. If you have a high-priority issue, let the roofing company know the nature of the danger so they can prioritize the emergency.
Our experienced roofers at Hackensack Roofing Company understand the specific toll Nor’easters take on roofs. Our team will:
5. Prevent Future Storm Leaks
Once emergency repairs are complete, our team will discuss long-term prevention. If your roof needs upgrading or replacements, Hackensack Roofing Company will give you an honest assessment so your roof will be ready to withstand the next severe storm.